Circular Economy at Home
During Sustainability Build Week we’ve talked a lot about different theories, actions and tips that you can do to make your next project more environmentally friendly.
But what does this all really look like in practice? Fortunately the sustainability and circular economy is filled with inspirational individuals who practice what they preach.
One such individual is Sheila Molloy, Executive Director of the Coast Waste Management Association (CWMA) who shares the story of her kitchen and bathroom renovation starting with the question:
“How do I divert as much as much waste from my renovation away from the landfill and into better uses?”
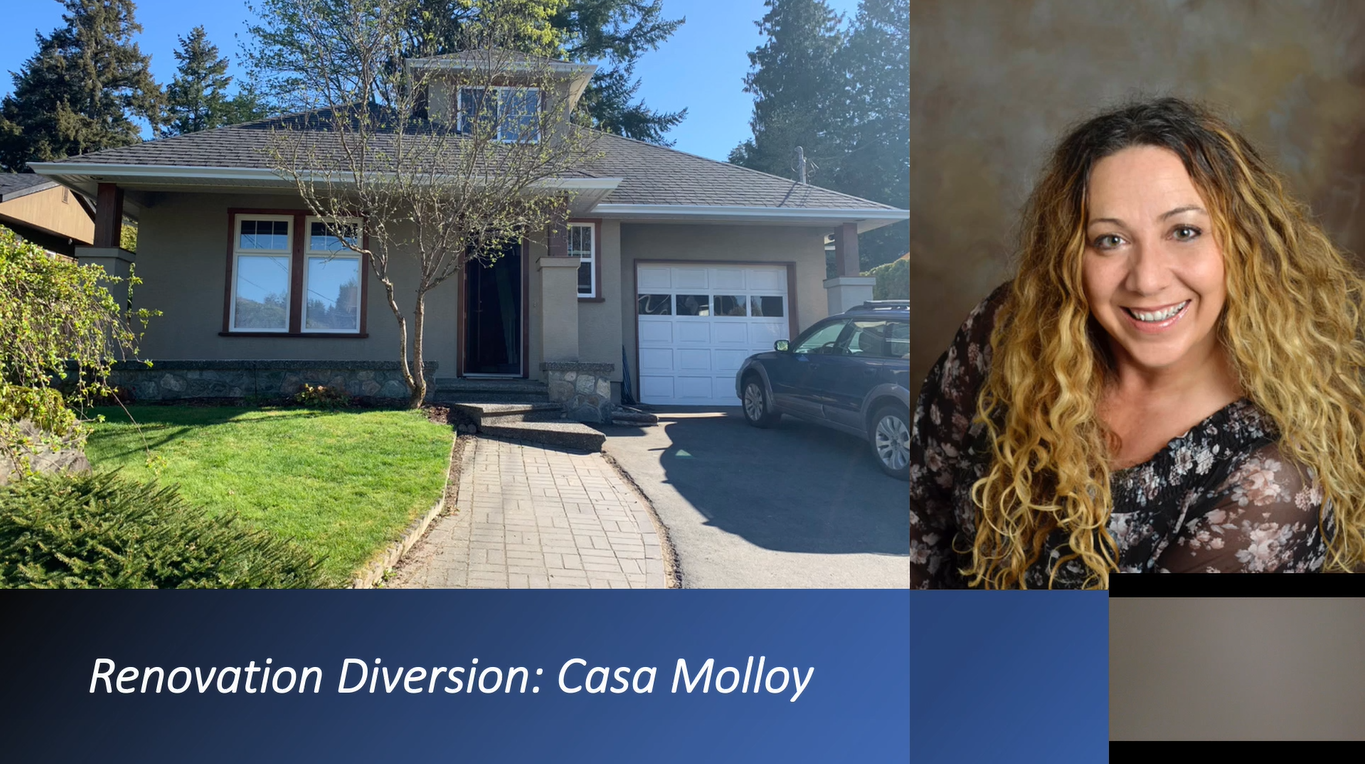
Renovation Diversion: Casa Molloy
Here are some key take-aways:
Have fun and be creative!
Who said renovation shouldn’t be fun?
“It was fun to try. We got creative and it enlightened me on how difficult it can be but also how simple it can be with some changes”
Invite your contractors and trades to be part of the journey
“We worked with Unbuilders who did a partial deconstruction of the bathroom and kitchen and helped us to find homes for many of the materials that came out of the process.”
“We were really careful of the new materials we bought and spoke to the traders to be part of this journey. They were all on board and were careful with their cuts and usage.”
Work with what you already have and make it better
Updating & repainting cabinets instead of pulling them out and replacing them not only prevents waste but it also saves you a lot of time and money.
“Find pieces that work with it”, circling back to the first point about having a little creativity.
Ask yourself what you can do to avoid creating extra work and extra waste.
The counter tops from the kitchen were eventually reused in the laundry room, again saving time and money.
So what went where?
Habitat for Humanity Vancouver Island took:
Pedestal sink
Cabinet mirror & light sconces
Bathtub faucet
Towel rack
Kenmore washer dryer stack (picked up)
Bathroom sink and faucet
Kitchen sink
Baseboards and casings went to a woman named Brit who was building a tiny home. Steel shelving and a white MDF shelf unit were given away to a lucky individual on craigslist, and a neighbor took the clean wood scraps
Re-used in the house:
Deconstructed wood was used to build an outdoor recycle center, the bathroom floor concrete was re-used as fill and clean drywall cuts were used in the garden.
Whatever couldn’t be reused, repaired or upcycled was taken to the Hartland Recycle Centre including:
All packaging cardboard
Styrofoam
Light bulbs
Electrical waste
All metal
And the End result?
After all the work was completed and everything possible had found a new home what was left to go to landfill was…
One 55 gallon bag of waste for the demolition stage and four 55L bags for the renovation!
This consisted of:
Plastic wrap
Damaged plastic/metal electrical items
Wrecked insulation
Damaged/gluey scrap wood
Painted, damaged or wet drywall
Taping mud gone wild
Icky glue & window caulk
Tile scraps
43 self levelling concrete bags
What a difference a bit of creativity, teamwork and initiative takes. Bravo Sheila!
To understand what a full deconstruction looks like, the City of Vancouver has some great examples explaining the process and highlighting where the different materials ended up, including the deconstruction of this 1910 home in Riley Park.
With all this knowledge and inspiration of how well it can be done, what are you going to do differently in your next project to make a difference?
The Rebuild Hub from Habitat for Humanity can accept many forms of salvaged materials from deconstruction and renovation projects. Don’t forget to check out your local ReStore or shop online to find all that you need while supporting our affordable home building projects for working families.


